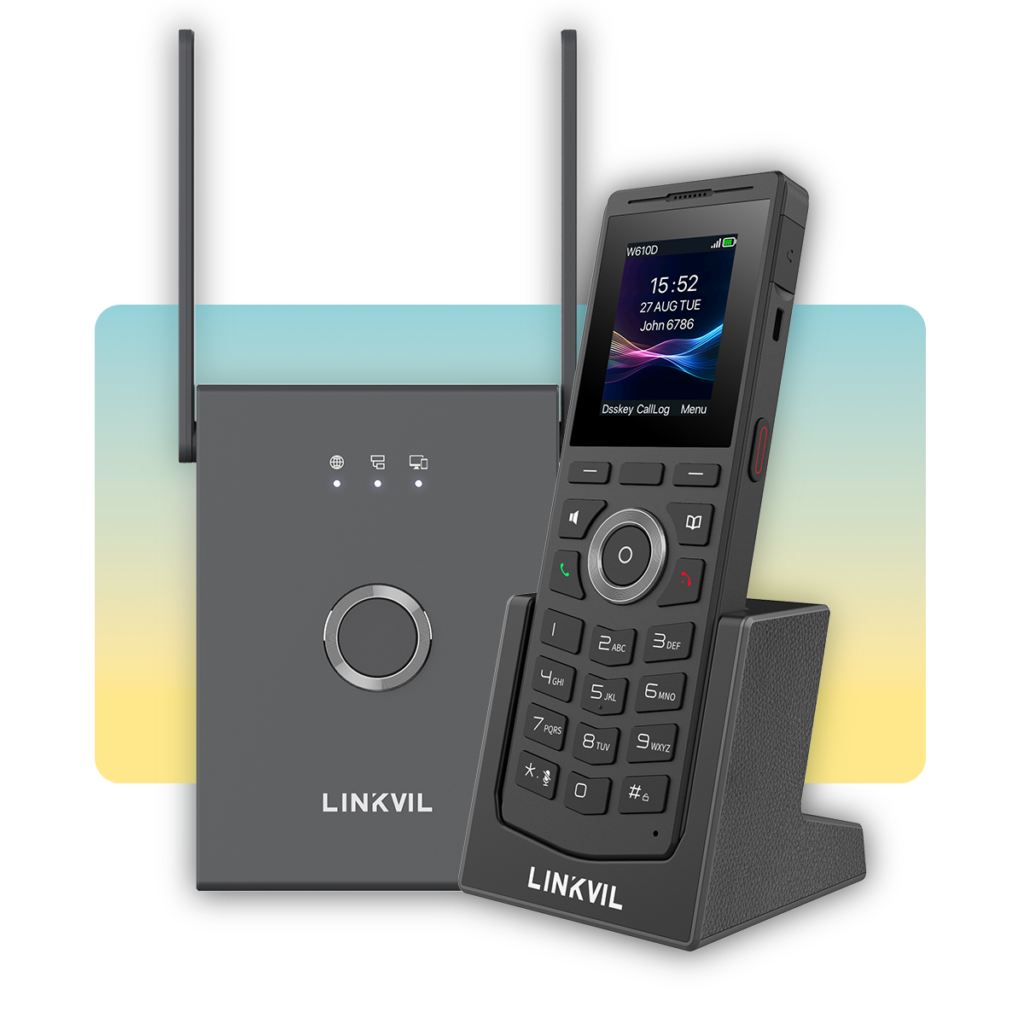
A Guide to Setting Up Your W710P DECT station
Success! You have your W710P, but how do you make the two components work together? In this blog we’ll guide you on how to turn on your W710D base and W610 handset, how to add SIP accounts and servers, how to pair a single W610D, and how to add additional phones to the base.
For more information, the full user guide can be found here
Powering on/off
W610D
- Long press the RED on-hook key until the handset boots up
- Alternatively, connect to the charging base and it will automatically boot up
To shut down:
- Long press the RED on-hook key to prompt a shutdown window, select ‘Shut Down’.
- Press and hold the RED on-hook key to Hard Shutdown
- Automatic shutdown occurs when battery is low.
W710D
- Voltage check
Check whether the voltage of DC power supply or external power supply is within the working range of this product (5V/1A).
Adjust the antenna instructed below.
Press the heads of the antennas at both ends of the device(marked with red lines) with slightly, the antennas will automatically pop out, and then rotate the two antennas clockwise to the desired angle (the maximum rotatable angle is 190°).
Open the back cover as shown below to expose the ethernet port / power source socket.

2. Connecting W710D to a power source
Insert the ethernet cable into the WAN port of the device and connect the other end of the ethernet cable to an uplink port (a router or a modem, etc.)
Insert the power adapter into the device and connect it to a wall outlet.
The WAN LED will be solidly lit when the device and network is ready for use.
Remember to close the back cover of the device after plugging in your cable, and punch the PA3*8mm screw back into the hole as shown below.
How to add SIP accounts and servers via W710D
The SIP settings for W710D are carried out by the administrator of DECT system, and the steps for setting are as follows:
Add SIP server
Visit the W710D Manager webpage>> [SIP Account] >> [SIP Server], click Edit to add a SIP server. Enter the corresponding information for the server address, domain name, and server port, which is provided by the SIP server administrator.
Add SIP account
Manually add a single SIP account: Visit the W710D Manager webpage>> [SIP Account] >>[SIP Account] , click Add, and manually fill in the SIP account
information: Authentication User, Authentication Password, User Number, DisplayName(SIP Account Name), etc. These information are provided by the SIP server
administrator.
Batch import of SIP accounts
Visit the W710D Manager webpage>>[SIP Account]>>[SIP Accounts], click Export to export the template. After editing the template and adding a SIP account, click Import to import the list of SIP accounts. Note that the imported template must be UTF-8 encoded.
How to add devices to W710D’s network
To use the basic communication functions of the DECT system, it is necessary to first connect the terminal device W610D to Manager/Base W710D.
System administrator adds authorized devices on W710D
System administrator adds authorized devices on W710D
Manually add a single device:
Visit the W710D Manager webpage>>[Handset] >>[Maintenance], click Add, fill in the terminal IPUI, Name, select SIP Account and Internal extension number. Note: Only when authorized access is enabled can the terminal access the Manager/Base network.
Batch import of devices:
Visit the W710D Manager webpage>> [Handset]>>[Maintenance]>, click Export to export the template. After editing the template and adding devices, click Import to import the device list. Note that the imported template must be UTF-8 encoded.
Terminal user connection device
Under factory settings, after the user starts the W610D device and manually selects the device language and country/region (which must be the same as the Manager),
After the device reboot, users can click Softkey-Next or go to enter [Menu]>>[Network]>> [Available Networks], select the Manager’s RFPI code, click Link, and enter the PIN code (1234 by default) to successfully connect.
After a successful connection, the terminal automatically obtains the configuration(assigned SIP account and internal extension number) and can perform calls and other operations.


